
This post contains affiliated links. As an Amazon Associate I may earn a small commission on qualifying purchases.
Adding colour to UV resin is actually very easy once you know how little pigment is needed – you really only need to use a very small amount, it always surprises me just how little is needed.
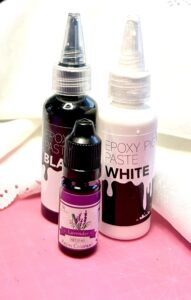
The feeling of excitement when adding colour to your UV resin piece is always there – whether you are a complete beginner to crafting with resin, or you have been working with resin for some time — you can never be sure of how the dyes, inks, powders or pastes will perform within the UV resin, there is always that moment where you ask yourself “shall I add ” or “should I swirl a bit more” before the dreaded ” Oh no – I shouldn’t have done that” — this is all part of the excitement of working with UV resin.
Safety First
- Always wear gloves (nitril) when working with resin
- Work in a safe well ventilated area
- It is advisable to wear a mask ( see my blog with safety tips here )
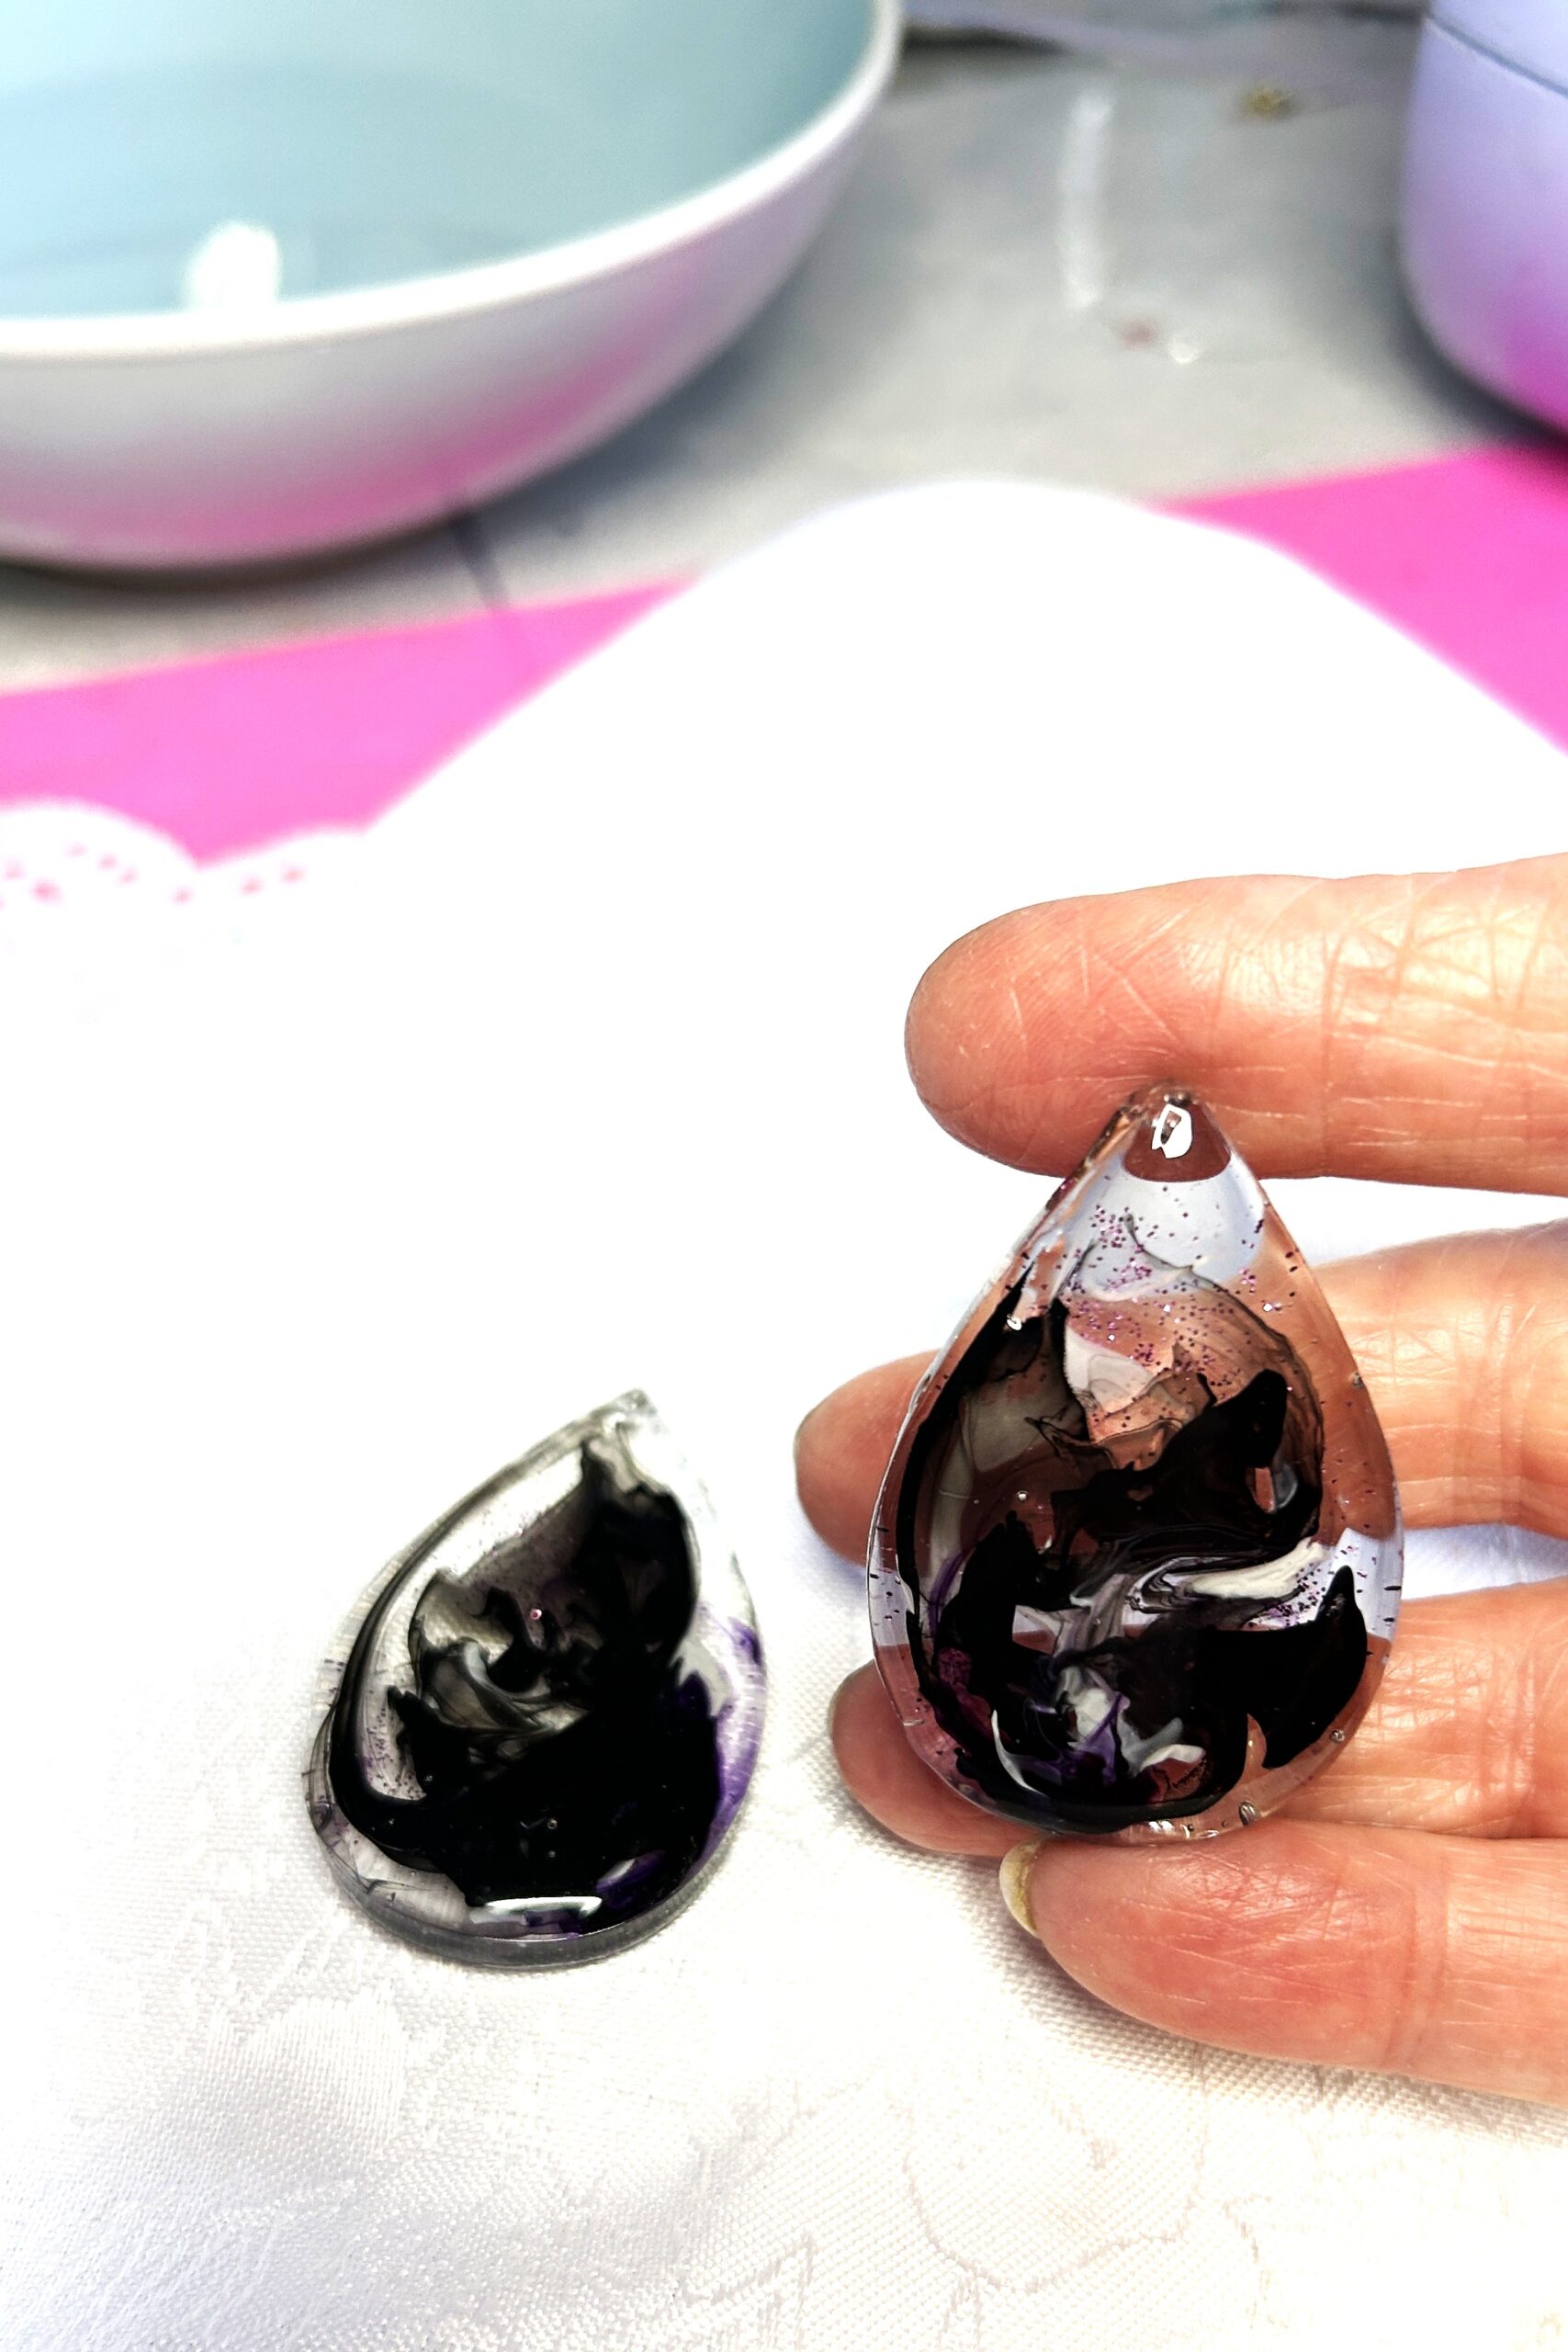
Something thing you need to be careful off – is if you use too much colour, especially when using dark colours. It can become almost impossible, for the UV light to penetrate through the density, of the dark colour completely – leaving areas of your resin piece uncured, with a sticky -tacky surface, like the piece in my previous video about Sticky Resin – Oxygen Inhibition you can see it here if you missed that one.
I am planning to cover many different situations you may find when crafting with UV resin, all will be from my personal experience – if there is an area I have not yet covered that you would like to see please do leave a comment and I will see if it is something I can cover for you in future blog posts.
Coming Soon…
My next planned blog post will be part 2 to this post – about adding a thin layer of UV resin over coloured dyes that have not fully cured, and also adding glitter to your resin piece.