
In this post I thought I would talk a bit about how to photograph your creations, that you have lovingly been crafting ready for marketing them. After all there are only so many creations, that you can give away, as gifts to your family, and friends. So if you keep crafting, (which you will) eventually you will be looking at selling your items, hopefully for a profit, but in reality, sometimes just breaking even, or maybe being able to cover your costs on an item.
Now if you are planning on selling online, the most important thing is ‘The Photograph’ the good news is that today, you do not need the most flashiest, expensive camera to achieve great photos.
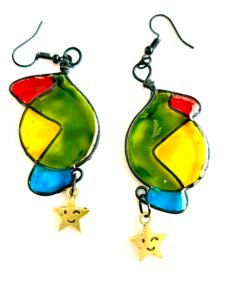
You Don’t Need a Pricey Camera to Capture Your Creations
Gone are the days when beautiful, professional – looking photos were only possible with bulky, expensive cameras. Todays mobile phones are equipped with powerful lenses, smart sensors, and clever software that can rival – and sometimes even outshine – traditional gear.
Now I am not by any means, a photographer! but I do take many photos of my creations, and also video tutorials and here in this post I am sharing with you, what I have learnt through trial and error (many errors actually) that may be helpful to you.
How to photograph your creations, what matters most isn’t the price tag of your camera, but how you use it. Good lighting, thoughtful composition, and a steady hand can turn a simple phone shot into something stunning. Plus your phone is always with you, making it easy to capture those spontaneous moments of creativity without setting up a studio.
Think of it this way: your phone is a pocket sized creative partner. With a little practice and an eye for detail, you can showcase your work beautifully – no expensive equipment required.
First things first, you need a nice light background, I work a lot with UV Resin and so I find having a white coloured silicone mat is ideal on my work bench – I can craft on it and also photograph.
These are the silicone mats I use here.
(See my page on Affiliate Disclosure re: Amazon product links)
Next you need light – I actually prefer to use natural daylight if it is a bright day – which is ok in the summer months but obviously not so good on darker winter days, so I did invest in one bit of equipment not very expensive and the prices vary so you should be able to find one to suit your budget – an Overhead Phone Mount with a Ring Light on a flexible arm this is the one I purchased for myself from Amazon. I find this very useful for creating video tutorials of crafting with UV resin for beginners.
You will find a link at the end of this post to my video tutorials.
Props
Do you need props?, sometimes yes, but sometimes the props can over shadow the piece you are photographing, so you do take care I will often photograph the same item with and without props – to see which look the best and provide a clear image of my item, remember this photo is your shop window, if it does not look eye catching people will walk on and not enter your shop to browse more.
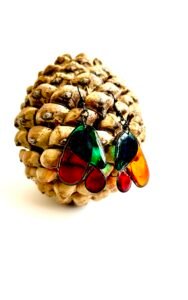
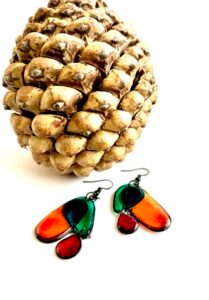
Here is an example of using a Large Fir-Cone as a Prop:-
Artificial Intelligence (AI)
Yes there is a lot of controversy over using AI – which I am not going to go into here in depth, as that’s another whole new blog post – but when used in the right way, it can be very helpful, for showcasing your items, as you can see in the images below, where I have used mock up images via AI, to showcase my abstract jewellery, and also my Mary-Anne Collection of character bag charms & keyrings all designed and made by Maz from Art and Gifts by Maz.
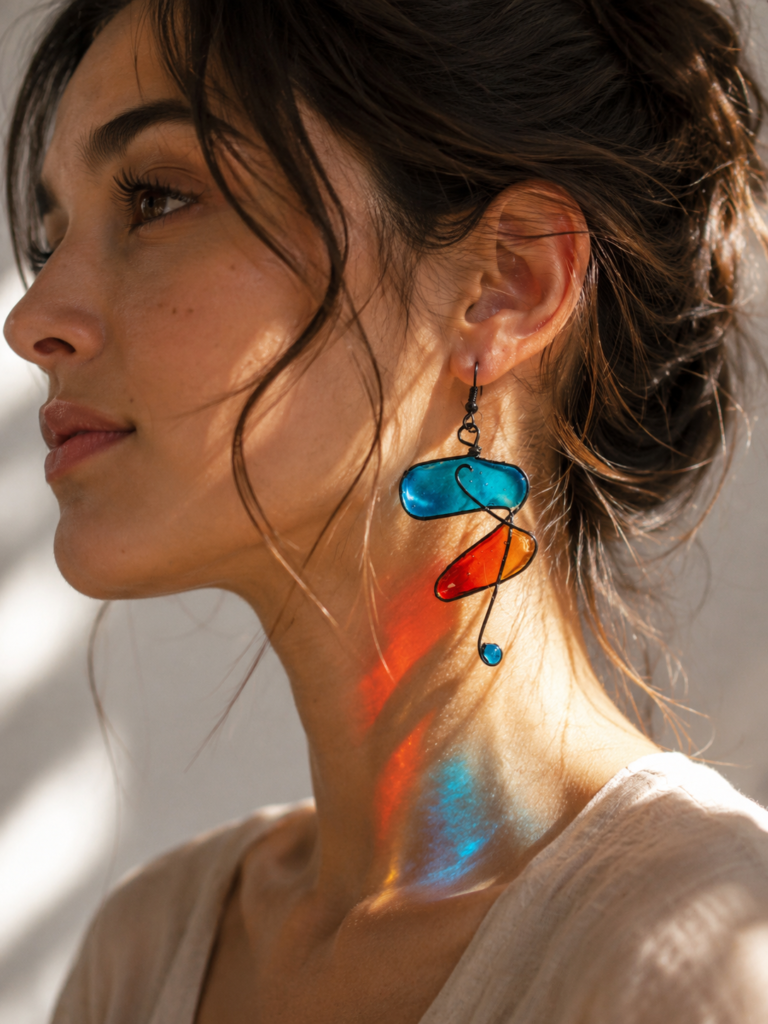
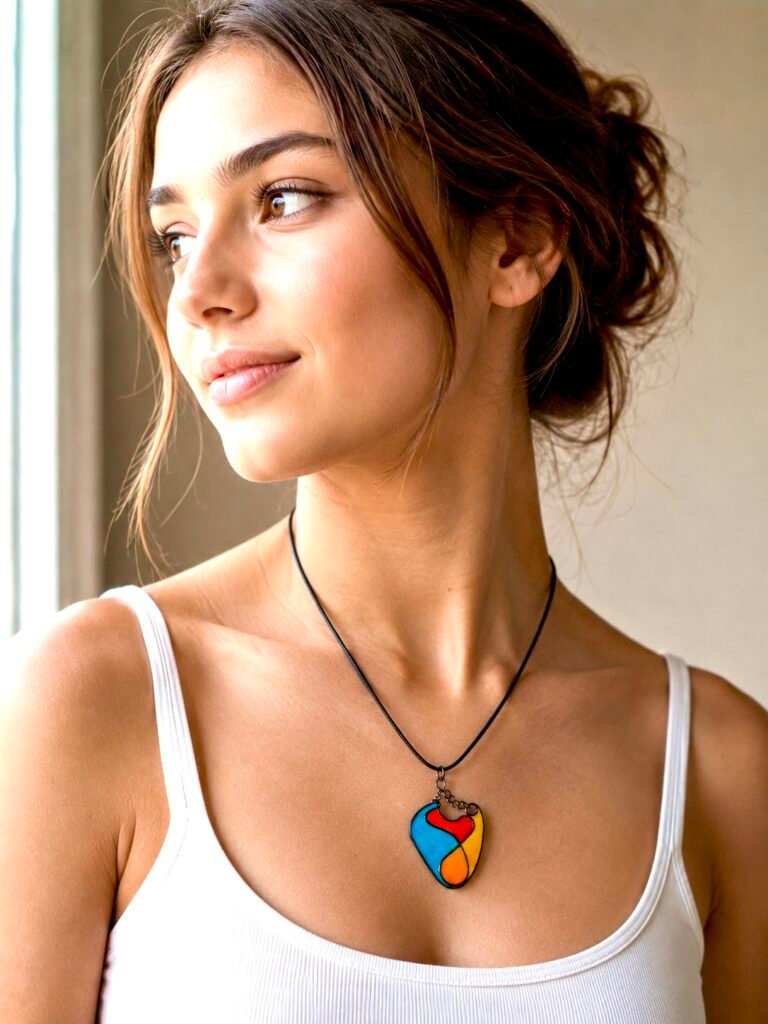
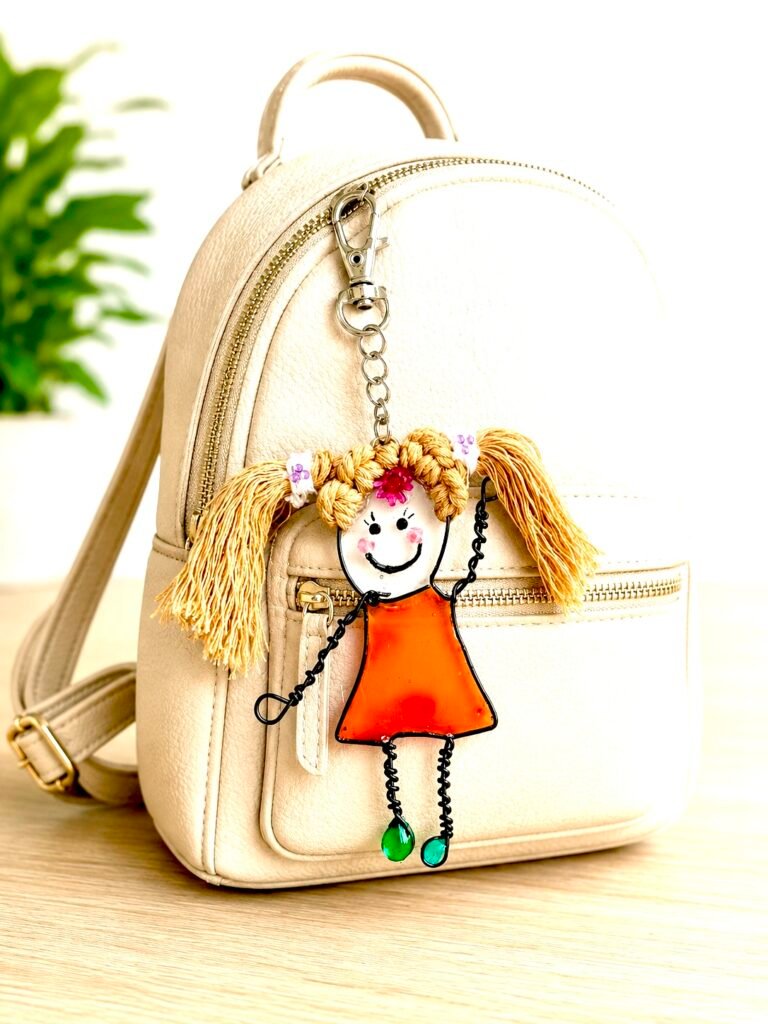
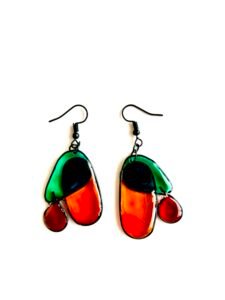
These mock up AI images above enhance my pieces showing how they could look when being worn or used, as against the flat images below.
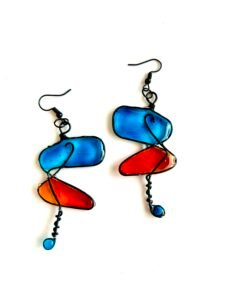
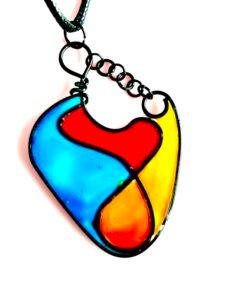
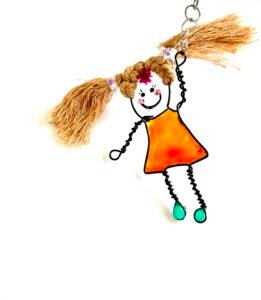
Image Editing
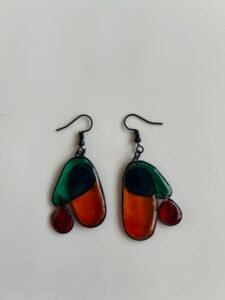
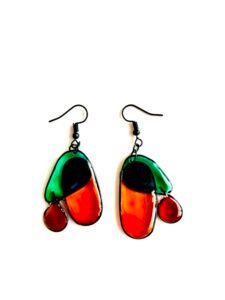
Do not be afraid to experiment with image editing – you need your photos to be bright and colourful, but obviously still realistic, and true, you do not want to be putting out a false image, there is a balance that you need to experiment to find – to start with always just do the tiniest adjustment – I usually only adjust exposure, brilliance, brightness, black point, saturation and vibrancy in this order for my photos, and I find that works well for my images – you do need to practice this, and find your levels, just play around with your images, you can at any point click cancel or revert to original.
Here is an example of the same image the first is without editing and the second I have edited using the method I set out above. They were both taken on the same white back ground but without any other lighting other than natural day light through the window.
Background
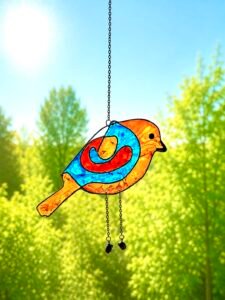
I also use AI to create a background drop for my Bird Suncatchers, I do this because there are houses, right opposite the window where I hold up my creations, to show the sunlight shining through the colours – and I don’t want buildings in my image – I want the Bird Suncatcher to be the first thing you see in the image.
You can see a tutorial video of how I create these suncatchers here How to Make a UV Resin Wire Bird Suncatcher (2 Crafts in One Tutorial)
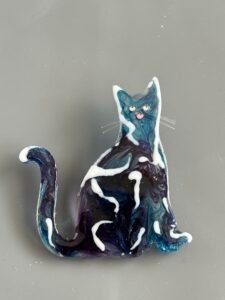
Here with this Resin Cat Brooch, I needed the Whiskers on my Cat to Stand Out in the Image – So using a light background was not going to work here, I decided to use a dark grey background – again with my usual editing I am pleased the Whiskers can be seen.
Take your time when photographing your creations – I have sometimes tried to hurry to get something listed for sale – only to find later I end up re-taking them!, so clear your work table, set your scene, use a light background it will save you time in the end… and show the world your beautifully handcrafted unique creations – Happy crafting and snapping to all my followers – keep creating
You can see my next post titled ‘ My Handmade Product Photography Checklist – 10 things I always do Before Publishing’ by clicking here
You can see more of my posts with useful tips by clicking this link here
I will shortly write a blog on where to sell your creations – watch this space