
In this post I am making a Turtle Suncatcher combining 2 crafts into 1 (wire crafting and UV resin crafting) these two crafts compliment each other very well as you can see.
This post contains affiliated links, which means as an Amazon Associate I may earn a small commission on purchases at no extra cost to you
Tools and Materials needed to make this Turtle Suncatcher
- Crafting Wire (any colour) This is the wire I am using here from Amazon
- UV Resin – I always use resin from Lets Resin – available from Amazon
- Rough Sketch of a Turtle outline, if you are not comfortable with drawing, you could get this from online, or a book maybe
- Selection of Pliers – in particular Soft Jaw Pliers such as these here
- Resin Tape – essential for applying resin to the wire frame, this is the one I use
- Silicon Tip Tool – for spreading your resin – I use a set that is intended as ‘Clay Tools’
- Glass Paint this paint gives the best transparent – stained glass effect, now you can buy these as individual pots or as a set so I am giving you links to both here: Single pots note price varies pending colour you choose Set of Paints
- Soft Paint brush – small to medium size
Safety First
Now you also need to ensure you are working in a safe environment – as you are crafting with resin you can see my post on working safely with resin here
Ready to Start Making a Turtle Suncatcher
1. Shaping the wire
I cut a length of wire approx. the length of my arm ( I don’t do exact measurements ) and I always start my wire suncatchers using a rough sketch of the shape I hope to create, and then holding the wire over the sketch I gently bend and twist it to follow the shape
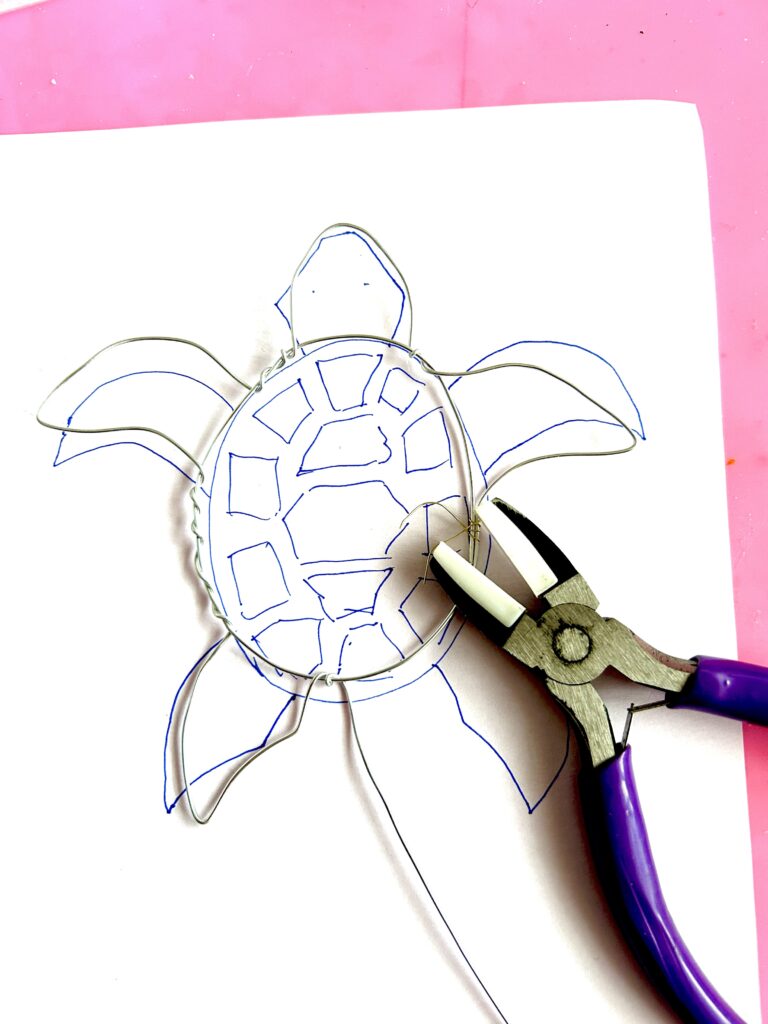
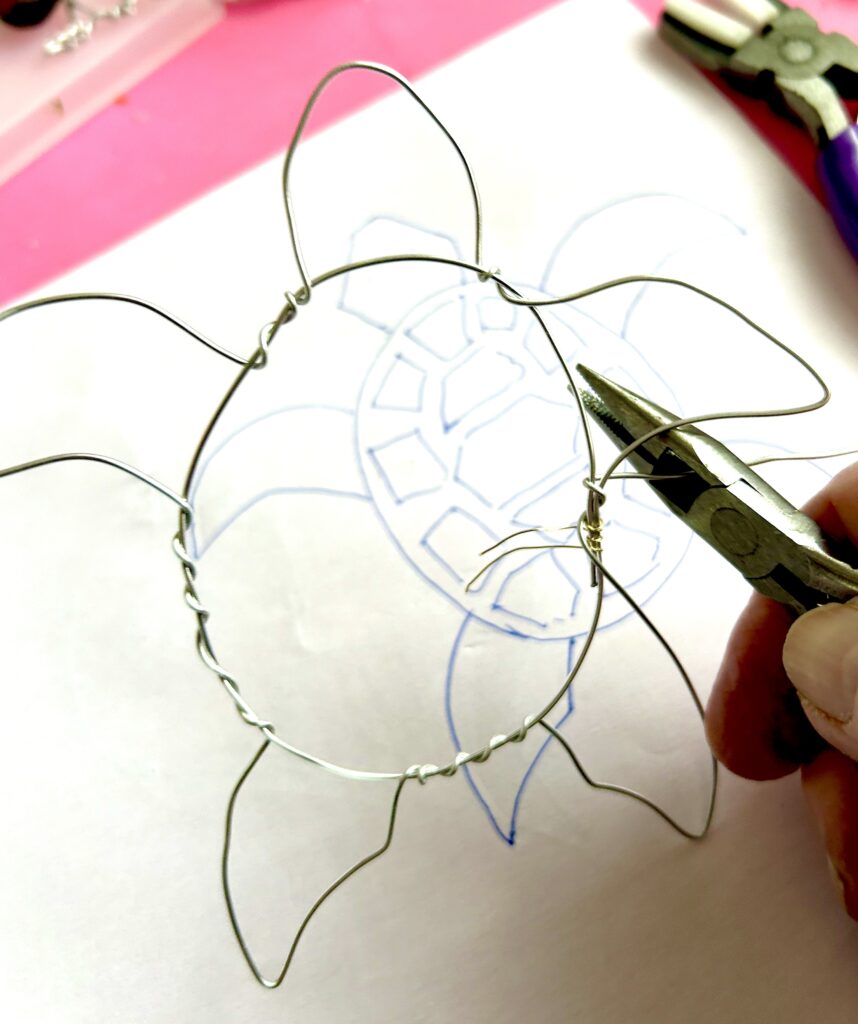
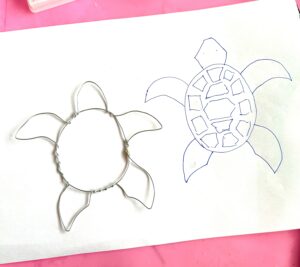
Just gently keep the rough shape of your turtle as you go – it does NOT have to be exact to your sketch just so long as it is recognisable as a Turtle – you are doing fine.
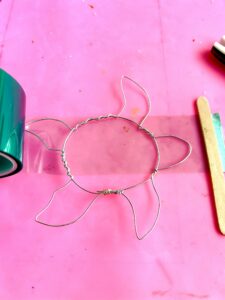
2. How to use resin tape
Now once you are happy with the shape of your Turtle – you are ready for the next stage of making a Turtle suncatcher. This is where you need the resin tape – now I have heard of people using parcel tape for this, but personally I like to use the tape intended for this task.


This tape is 2″ wide which is great for larger pieces, and it is extremely sticky which is what you want – you need your wire to stick firmly to your tape to avoid any resin leaking between wire and tape. You can see this tape here on Amazon
3. Ready to add UV Resin
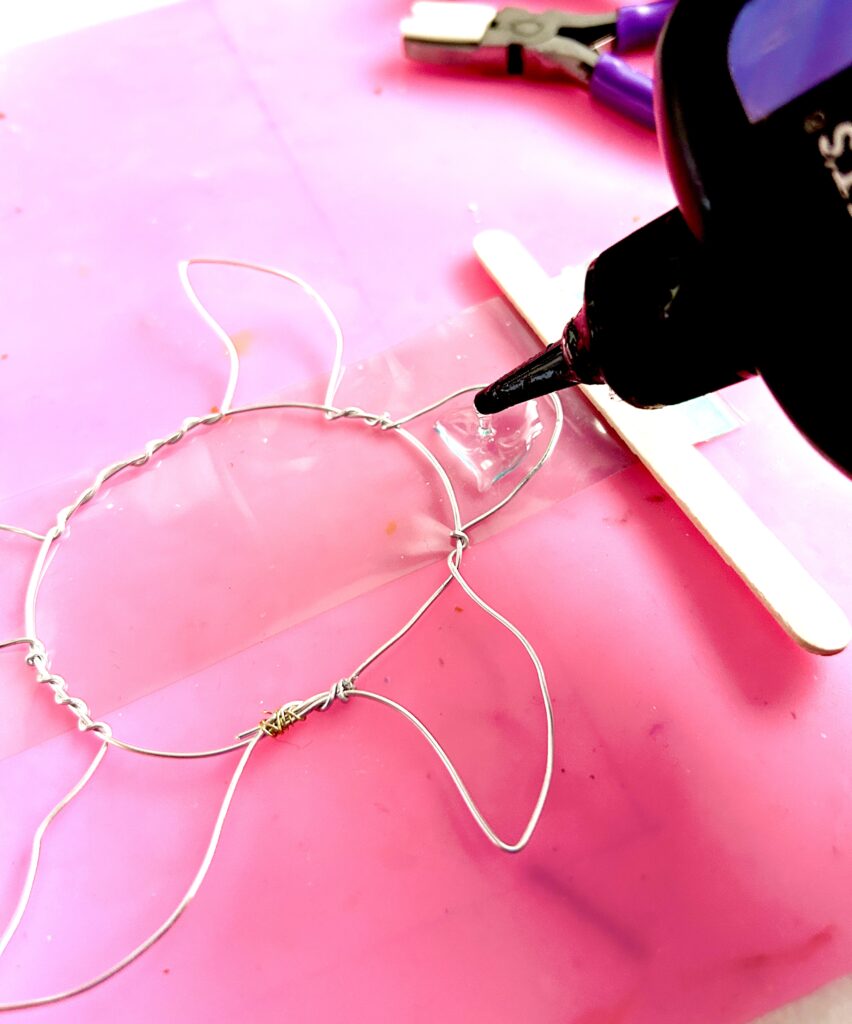
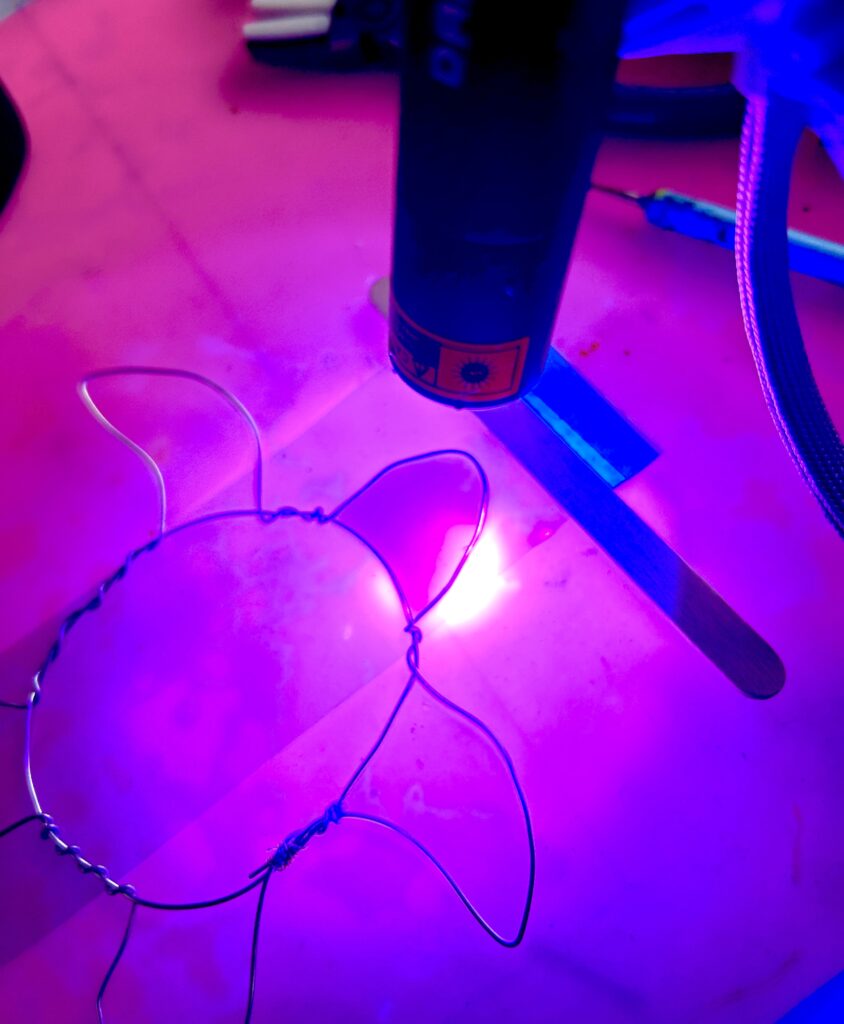
You have to work in sections because of the tape size against size of the Turtle – now if you are just starting out with resin crafting I would suggest you choose smaller sections just one at a time. Ensure the wire is stuck firmly to the wire before you pour the resin. Use a silicon tip tool to move the resin into all the area you are working on and then cure with UV torch or pop under your UV lamp for a couple of minutes.
Please watch this short video below 👇 as part of this tutorial – taking the wire Turtle through ready for painting stage
👀👉https://youtube.com/shorts/pSphw2N6-b4
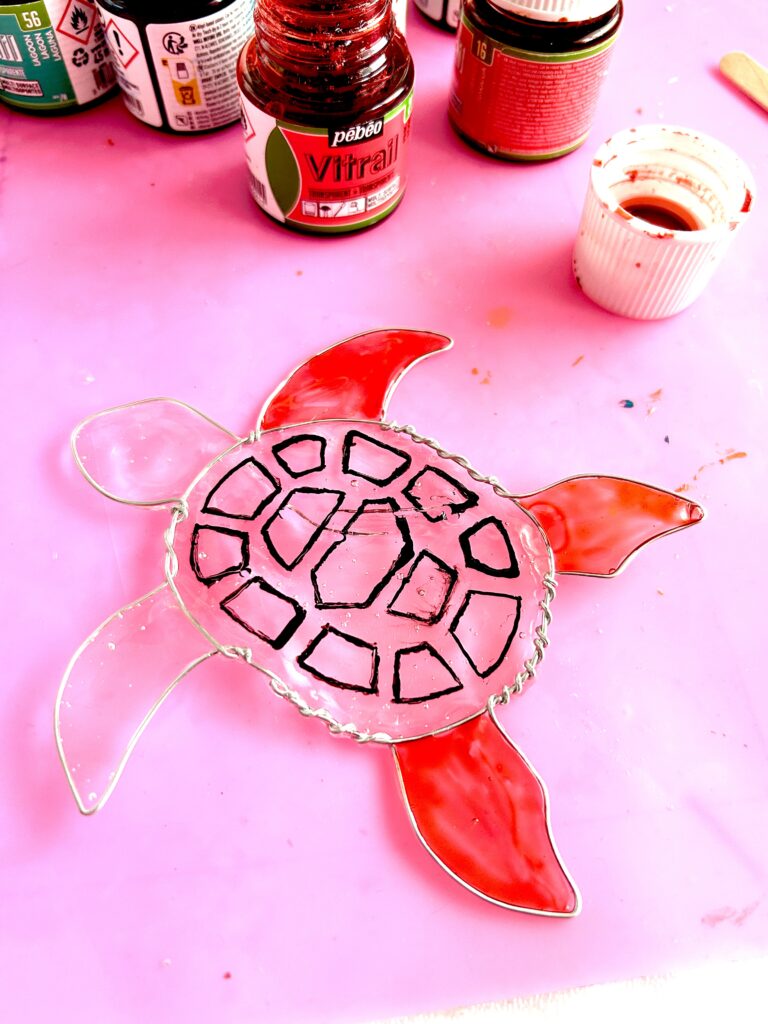
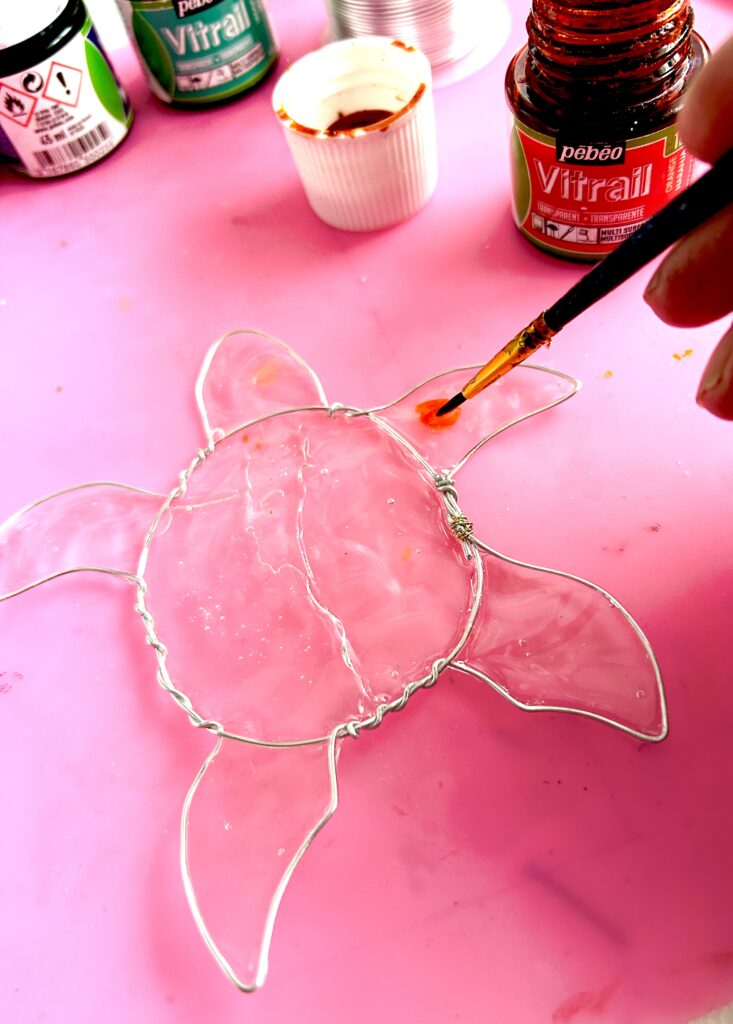
4. Lets Start Painting
I use specialised glass paints for making Turtle Suncatchers, this paint is transparent and gives a wonderful stained glass effect, which is just what you need for a suncatcher, it comes in an amazing choice of colours and I have always had excellent results with this paint ( link above under tools and materials needed)
Turtle Shell Detail : This can be applied before painting other colours on or afterwards as in the photo below 👇
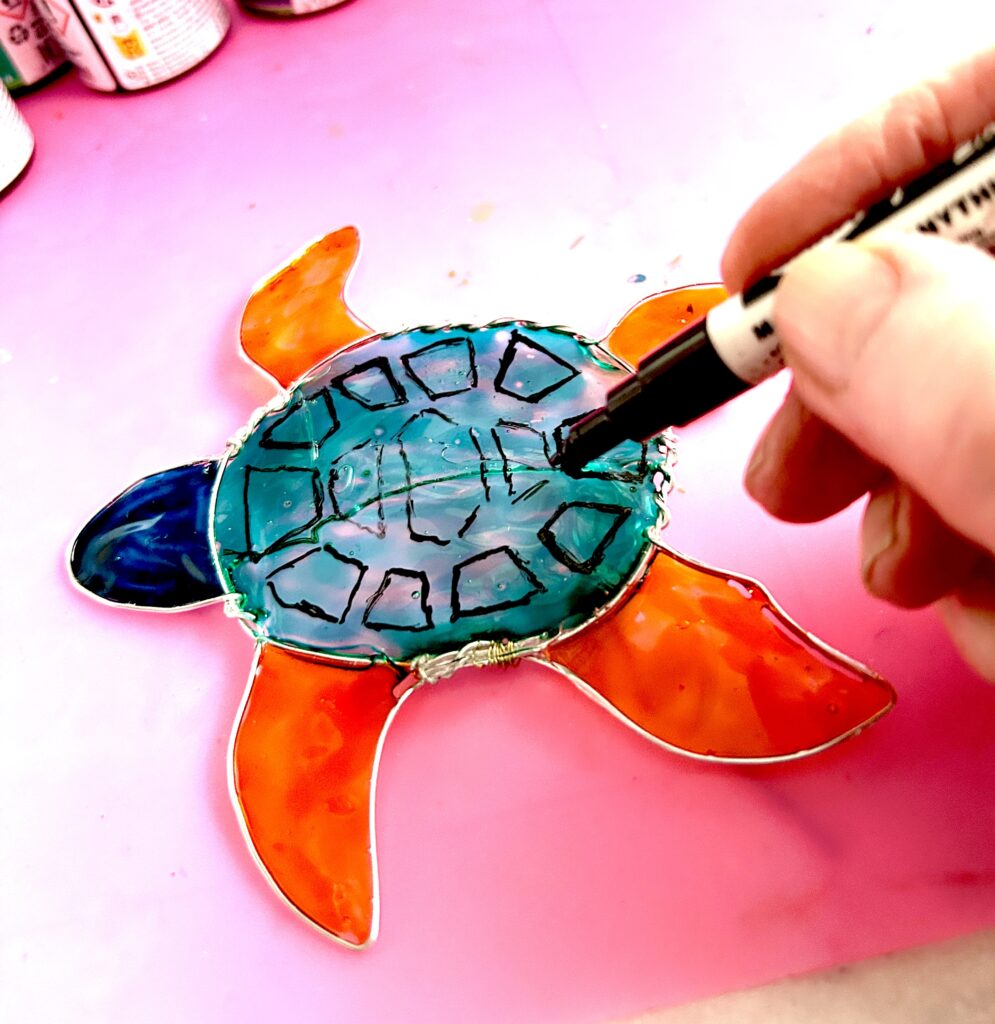
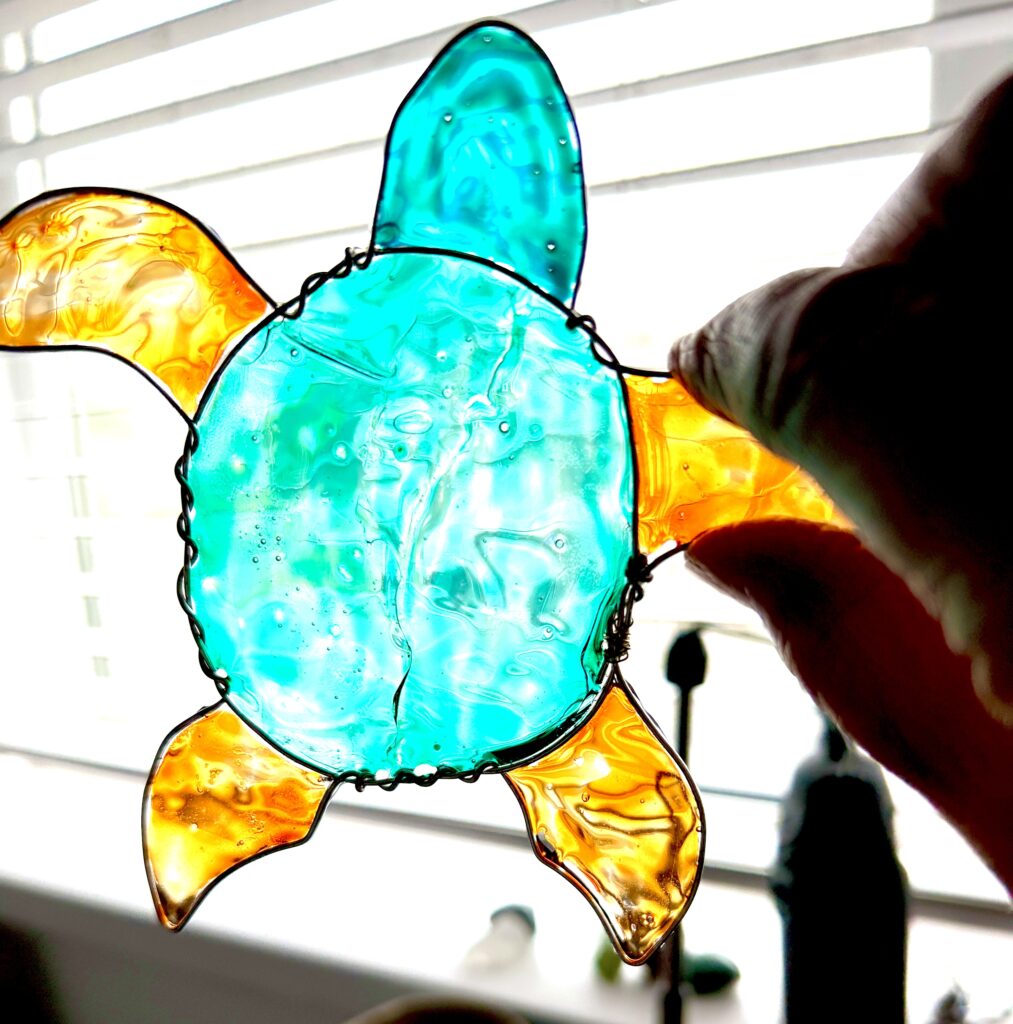
I really enjoy the painting stage I love adding colour to my pieces, I like to use a nice soft bristle brush – it ensures a nice smooth application of paint, you need to take care not to paint the wire and apply 2-3 coats of paint drying each coat in between. If you hold the Turtle up to a window in between the coats of paint you will see if you need a further coat or not.

Tip: I wipe my brush clean with a wet wipe then dip in white spirit and wipe off again with wet wipe
What’s Next ?
See how I finish this Turtle in my next blog post – How I Do the Finish ! .. When Making a Turtle Suncatcher to include adding a chain for the Turtle to hang from – coming soon, when it has been published I will put a link here for you.
I do hope you have found this tutorial helpful and inspirational and if so please do take a look at my other blog posts drop me a line in the comment box always lovely to hear how you have got gone and to see your creations.
Happy Crafting everyone 💖